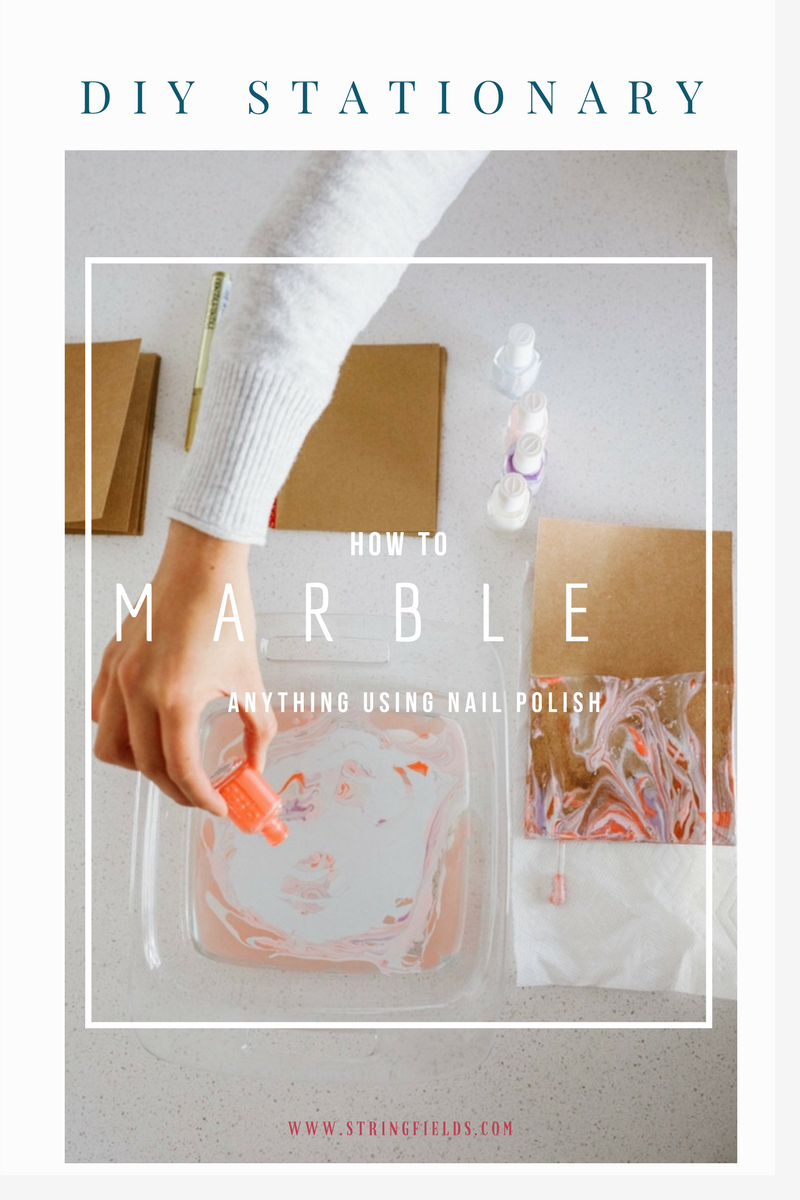
DIY Valentine’s Day Cards // How to marble anything!
February 4, 2017

It’s already February, can you believe it?! The start of February means only one thing….VALENTINE’S DAY is quickly approaching (& the small fact that tax season is also approaching… for us “old people” LOL). Weather you love the holiday or dread the thought of it, you can’t escape the rows of candy & “I LOVE YOU” teddy bearsthat have lined the aisles of your local drugstore. I personally love Valentine’s Day. Not for romantic reasons but, because it is a holiday that celebrates love & the appreciation of others. And quite frankly, our world could use a little bit love not just on Valentine’s Day but every day!
This year, wanted to send out little “Love Notes” to all the people I care about simply to remind them that they are SO loved. Valentine’s Day is not just for kiddos and the hopelessly in love, it can be for us regular folk too! There is absolutely nothing wrong with sending out adult Valentine’s Day cards … that say: “UR A QT” to a friend. Just because we’re adults doesn’t mean we can’t send out valentines to remind those we love that they ARE indeed a “QT”, because chances are they ARE cute and they deserve a little reminder. That being said, I rounded up my list, and decided that it would be even more special if I were to make my own cards. If you know me personally, this past year has been the year of MARBLE. I’m pretty obsessed with anything marble, marble prints, marble stone, marble looking anything and basically if it was possible to wear marble I probably would. Which is why I made DIY marble Valentine’s Day cards this year.
Follow the steps below to make your own marble Valentine’s Day cards! This tutorial will not only show you how to marble cards but anything else you would like as well. The options are endless and once you start you won’t wanna stop. You’ll probably turn into a marble obsessed mama like me (haha).
DIY: Marble Anything Using Nail Polish
Supplies:
1. A shallow container filled with a few inches of water
2.Nail polish in several different colors(I used Essie but you can use anything)
3. A tool to swirl your colors together (an old pen, stir stick or toothpick)
4. Card stock Paper(or whatever item you want to marble, mug, plate, coasters etc.)
5. Hair Dryer(optional)
6. Paper Towels
7. Nail Polish Remover(clean up)
Gather all of your materials and make sure you are in a well ventilated area because, before you know it your house will be smelling like a nail salon. Also, keep in mind that you may be getting your hands dirty, so you can either wear disposable glovesor just get down and dirty; and when you’re finished you can just clean off your fingers with some nail polish remover.
Directions:
1.Take your container and fill it with a few inches of water. If you are marbling a mug or plate make sure to fill the container with enough water so the entire piece can be submerged.
2. Slowly pour your nail polish onto the surface of the water with a steady hand. You want the polish to float on the surface rather than sink to the bottom of the container.
3. Once the first color hits the water, it will span out and disperse throughout the entire container and will be a light color to begin. As you continue to add more colors of nail polish the colors will become more vibrant. NOTE: You will have time but work quickly. You don’t want the nail polish to start drying as you are dipping your item into the water, it will cause the polish to gob up.
4. Once you have finished drizzling all of your nail polish colors use your swirl stick to weave the colors together until you are happy with the design.
5. Dip your card stock paper onto the surface of the water and make sure the entire surface of the paper has made contact with the polish and then lift out.
6. Set the piece aside to dry. To speed up the process you can use a hair dryer to dry the item faster. If you are marbling an item other than stationary products, you can use nail polish remover to erase if you mess up and want to start over.


*my sweet little crafting buddy*
This process was so much fun and the options are truly endless. You can use different colors of nail polish and be as bold or as subtle as you like. The next item I have on my list to marble = picture frames! I think it would look gorgeous to marble a white picture frame with grey & gold. I’m excited just thinking about it. Have fun girlies! Be as creative as you want and marble anything and everything!
These incredible photos are brought to you by the amazingly talented Yasmin Campos with Coffee Creative Photography.She is the whole package: anincredible mama, master graphic designer, fun as heck and not to mention she is crazy talented behind the camera! Go check her out and follow her on instagram!
Happy Crafting y’all! Xoxo Jeannie