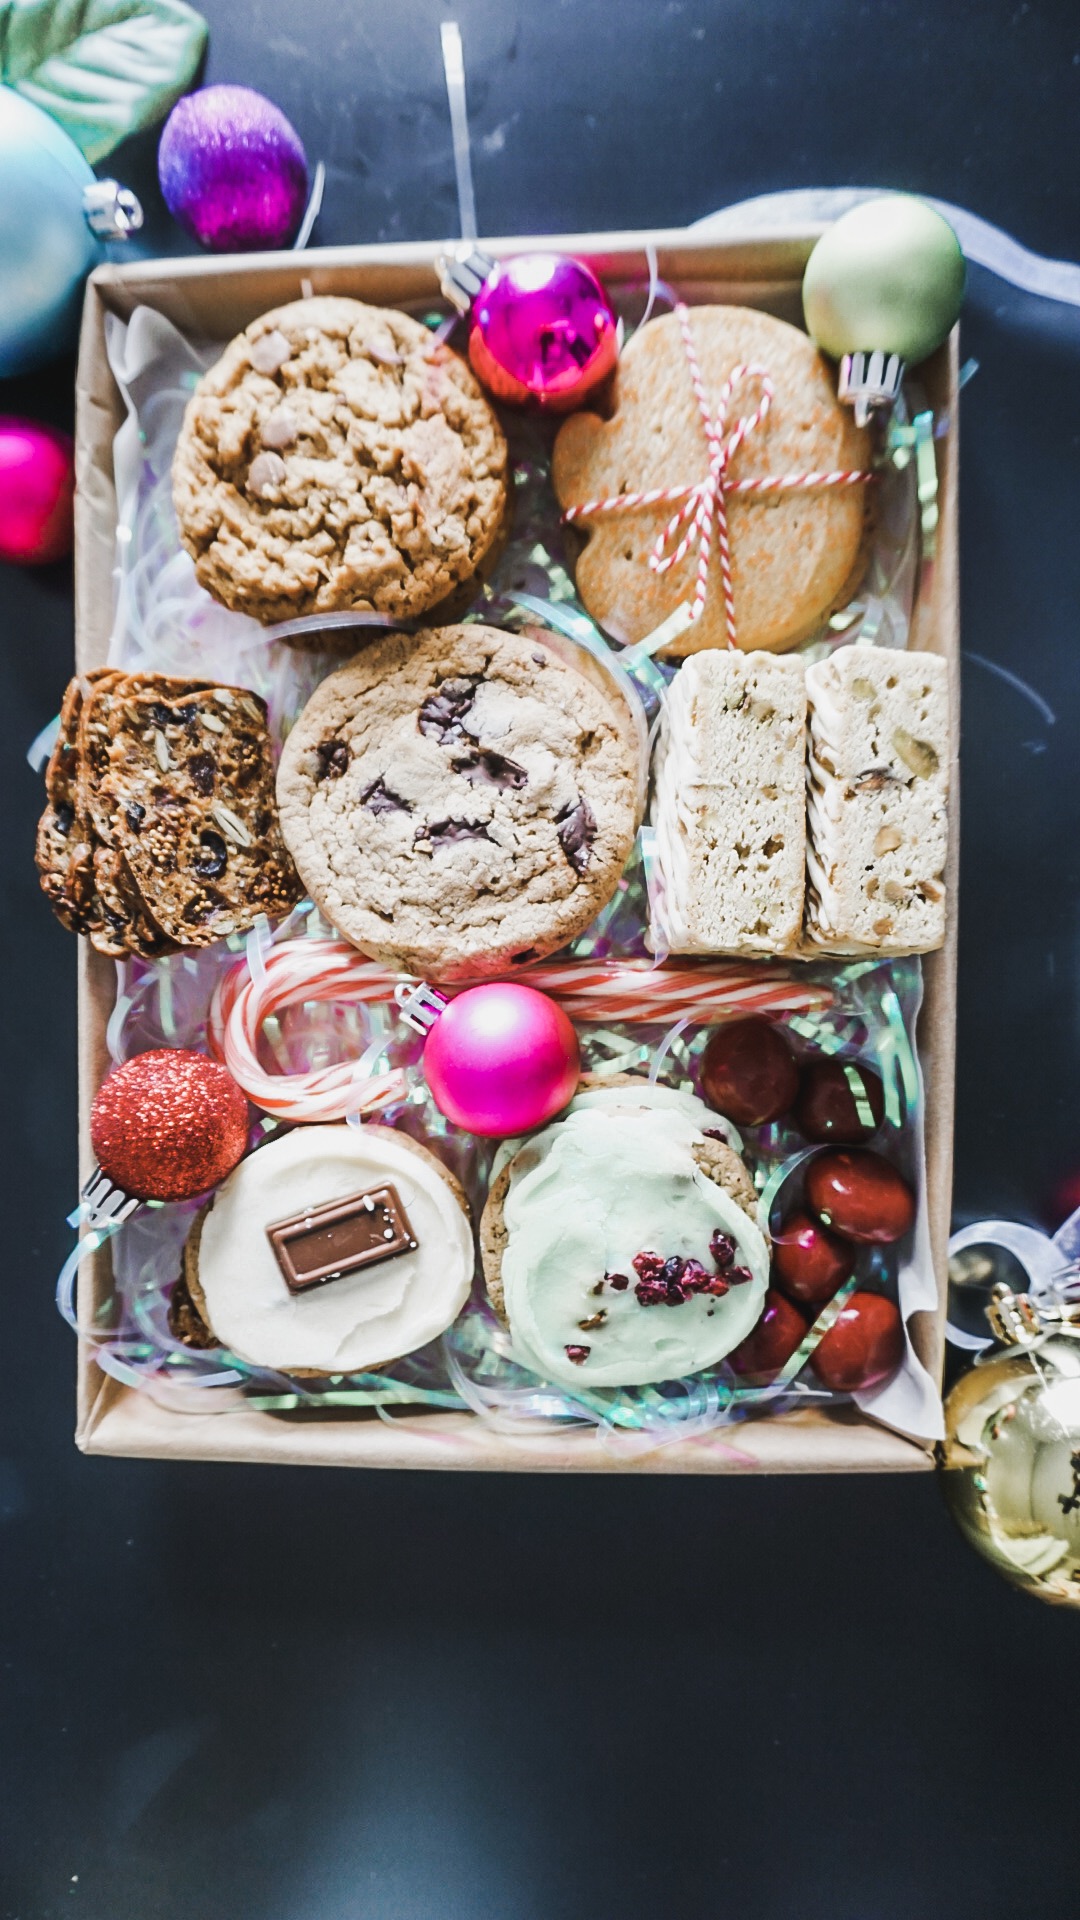
Impress your friends with a DIY Holiday Cookie Box
November 25, 2019
“The best way to spread holiday cheer is….” cookies. I mean, who can turn down on a batch of chewy chocolatey goodness?! With baking season amongst us, what better way to bring a smile to those around you than a beautiful cookie box of assorted cookies. Give your neighbors, coworkers and, friends a DIY cookie box that will give them with bites your favorite cookie treats this holiday season.
To make this cookie box you can either bake an assortment of your own favorite cookies or purchase a variety of cookies from your favorite brands! I went with Cheryl’s cookies. They are beautiful, moist, and delicious! Known for their for cut-out cookies with buttercream frosting each cookie is individually wrapped and sealed to insure freshness with every bite. Currently Cherly’s cookies is featuring fall favors like s’mores and brown sugar, to holiday hints of cranberry and pistachio, these delicious cookies are sure to excite every taste bud. So if you’re wondering what these beautiful cookies are, I have listed them below! Be sure to visit Cheryls.com to check out all of their amazing flavors and more!
1.) Marshmallow Frosted S’more Cookie
2.) Brown Sugar Shortbread Cookie
3.) Peanut Butter Oat Chocolate Chip Cookie
4.) Pistachio Frosted Cranberry Cookie
5.) Pistachio White Chocolate Blondie Bar
6.) Sea Salt Chocolate Chip Cookie
How to make your own DIY cookie box

1.)What better way to reuse those shoe box lids or amazon boxes than a cookie box!! The process is super simple. First, get a box that will hold all the cookies, or a shoe box lid.

2.) Wrap the outside of the lid in your favorite wrapping paper, or crate paper.

3.) Cut out a piece of parchment paper and line the inside and sides of the box, to insure that the box doesn’t absorb the oils from the cookies.

5.) Add your favorite raffia or tissue paper. (I purchased mine from Target in the party section.)

6.) Be sure to add dimension to your cookies by stacking them, wrapping a bow around a group of them, and putting some sideways. Arrange cookies accordingly in the box lid creating different piles of cookies.

7.) Add some color with chocolate, candy, ornament balls, ribbon, flowers, pinecones or even pine leaves. Thats it! Your cookie box is completed! To add the final touch wrap the entire box in cellophane wrap and finish with a bow. Gift & Enjoy!

Don’t want to DIY? Buy the box!
If you’re looking for a quick way to get the same effect without having to do any wrapping head to Target or Homegoods and pick up a wooden cutlery tray. It is the perfect size and will have the perfect squares to put different types of cookies!


Like this DIY? Stay tuned for more! With Love, Jeannie